1. Remove the rear wheel.
2. Clean the disc and end cap from all contamination.
3. Remove the stock Centerlock nut and magnet, set aside (somewhere safe)
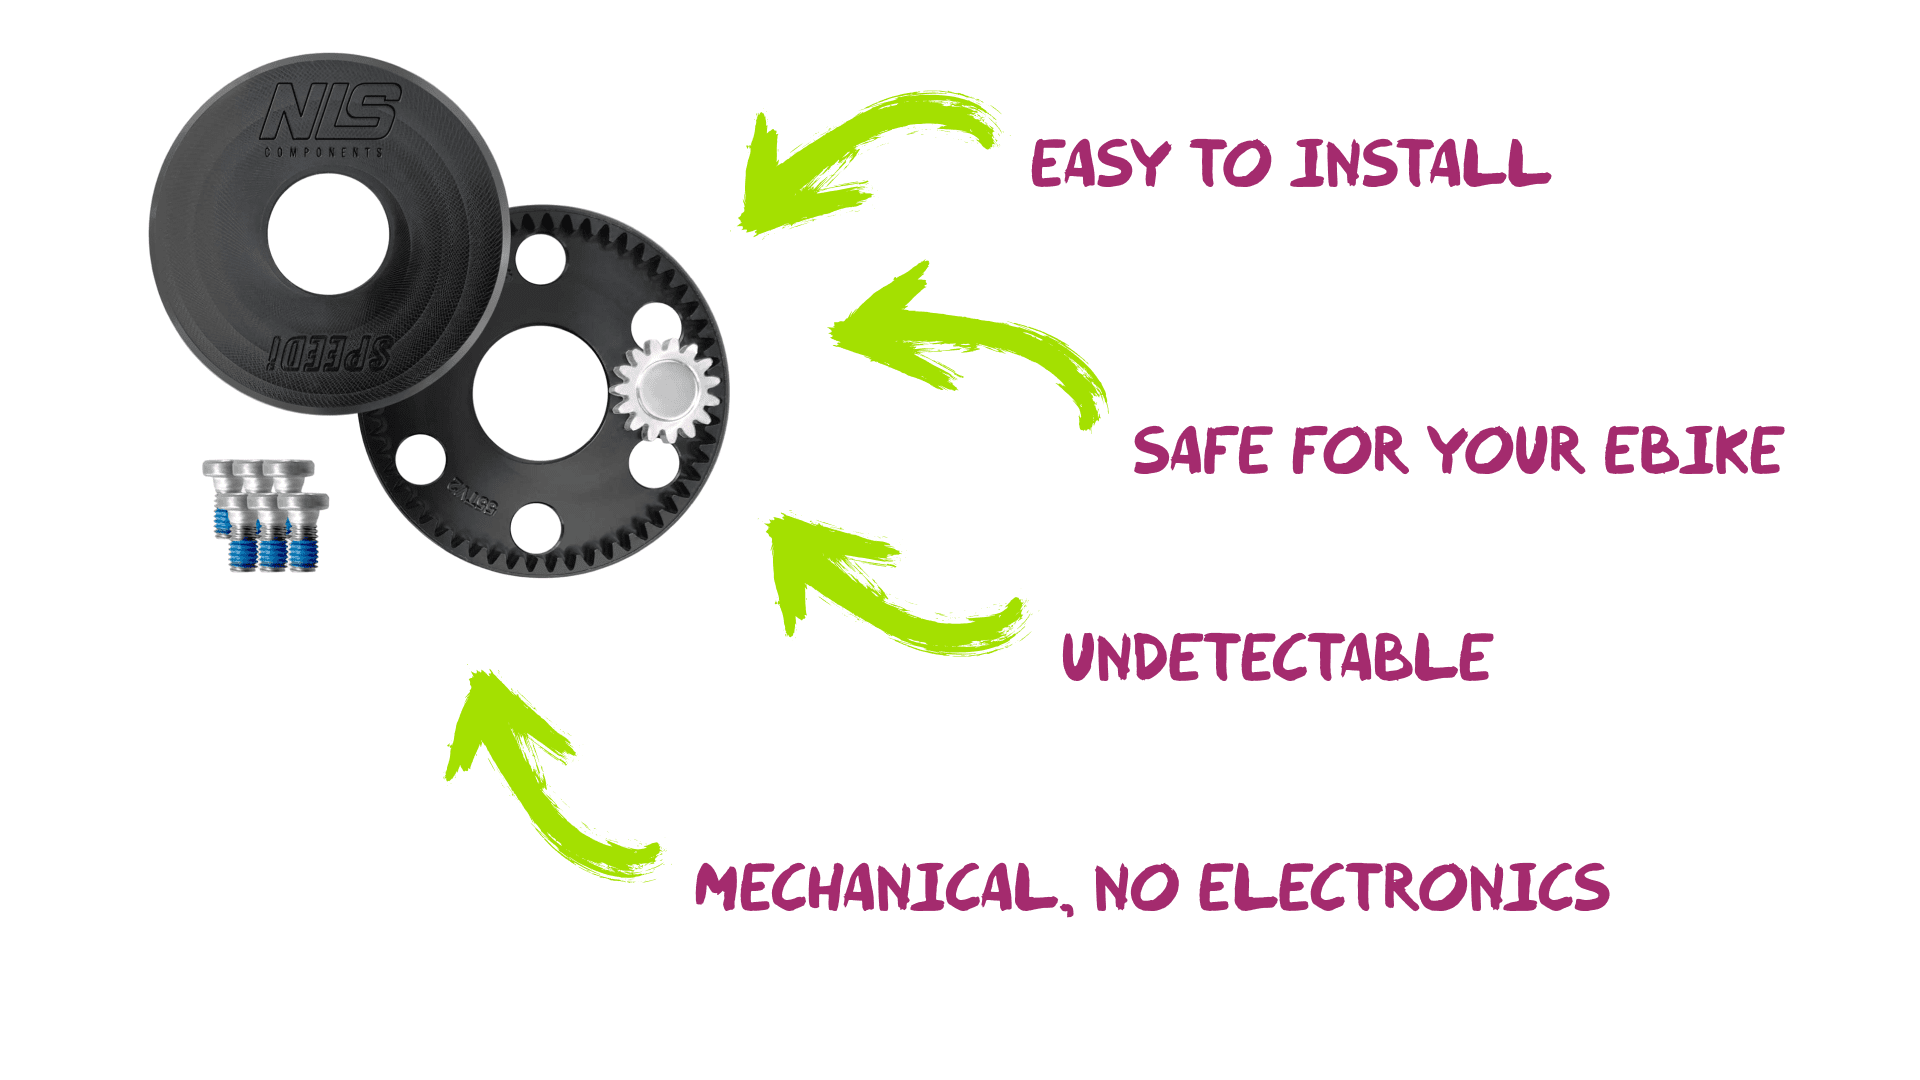
4. The Centerlock unit comes assembled. Disassemble the unit by pressing the Centerlock nut on the side with the 'NLS' on it. It will push out of the Backing plate.
5. Install the new Centerlock nut with the stock stainless washer, grease the threads sparingly and tighten to 40nm with a good quality Bottom Bracket tool. Be very careful not to slip or damage the outer surface of the nut as this is what the Backing Plate mounts to, if this does get damaged, you will need to gently file off any burrs before installing the Backing Plate.
6.Gently press the Backing Plate on to the Centerlock nut, start by lining up the 16 notches on the outer diameter, then with one edge fully on - work your way around the inside pushing with your thumbs, one notch at a time, until it clicks on. You know it is on correctly when the Centerlock nut face and Backing Plate are completely flush.
7. Place the Magnet inside ring gear and engage teeth.
8.Take your time during the final install, make sure everything is very clean for a long and prosperous life.
9. For silent operation we aim to leave a .1mm gap between the Cover and the Backing Plate.
9.1 Gently press Cover onto the end cap with thumb pressure only, rotating as you go. This is supposed to be a very tight fit, so will take some pressure to get it on. WARNING! Press as close to the center as possible, do not put ANY pressure on the outer edge of the cover OR hit it with any tool, or it will break.
9.2 HOT TIP - soak the Cover in hot water (not boiling) for 10 seconds, this makes the plastic slightly larger and more malleable.
9.3 As the Cover engages the last 2mm, the teeth need to line up so you will need to rotate the Cover slightly to allow easy engagement. Using a socket that fits over the axle and gently pressing it with your palm is a good way to install easily, be careful not to press it on too hard though, as this will likely make it noisy.
9.4 Continue to press the Cover closer until you see a very small gap of around .1mm between the Backing Plate and Cover. You can test how close it is by pushing the outer edge of the Cover toward the Backing Plate and seeing how much it moves.
10. Rotate the axle to make sure it spins freely and perfectly straight. Try pressing the hub end cap toward the hub and rotating, listening for excessive noise, as the wheel bearings may have play in them that can affect the offset when the axle is done up tight.
11. There may be some slight plastic on plastic noise as the sealing faces gently touch each other, make sure this noise is not excessive, if anything sounds or feels off, pry it off completely (see uninstallation below) and re-install.
12. Install the wheel gently into the frame, careful not to impact the unit or sensor.
13. When tightening the axle - make sure there is always a slight gap between the unit and the sensor/frame at all times.
14. Please note that for the first 5 minutes of use the unit may make some groovy noise, this is normal and will run smooth and silently after its initial bedding in. If it continues to make excess noise, try uninstalling (see below) and reinstalling following Step 9 closely.
Installation Video
 FREE SHIPPING WORLDWIDE
 1 YEAR WARRANTY
 EASY TO INSTALL


